Why My Aircon Is Not Cooling: Troubleshoot in 5 Steps
Aircon not cooling in the middle of a blazing aussie summer? That frustration hits hard, especially when a dirty air filter can reduce cooling efficiency by up to 50 percent. Most people rush to call a tradie or assume the whole system is cooked, but the truth is the biggest problems are usually dead simple and you can fix them yourself in five minutes flat.
Table of Contents
- Step 1: Inspect The Thermostat Settings
- Step 2: Check The Air Filter Condition
- Step 3: Verify The Outdoor Unit Operation
- Step 4: Assess Refrigerant Levels
- Step 5: Perform General Maintenance And Clean-Up
Quick Summary
| Key Point | Explanation |
|---|---|
| 1. Check thermostat settings | Ensure the thermostat is set to “cool” mode and the temperature is lower than the current room temperature. |
| 2. Inspect and clean air filters | Dirty air filters can obstruct airflow; clean or replace them for improved efficiency and indoor air quality. |
| 3. Validate outdoor unit operation | Look for debris, listen for unusual sounds, and ensure the fan blades are moving properly to maintain cooling performance. |
| 4. Monitor refrigerant levels | Signs like ice on lines or weak airflow may indicate low refrigerant; call a licensed technician for handling refrigerants. |
| 5. Perform general maintenance | Regularly clean and maintain the air conditioner to prevent issues; check various components for wear and blockages before testing. |
Step 1: Inspect the Thermostat Settings
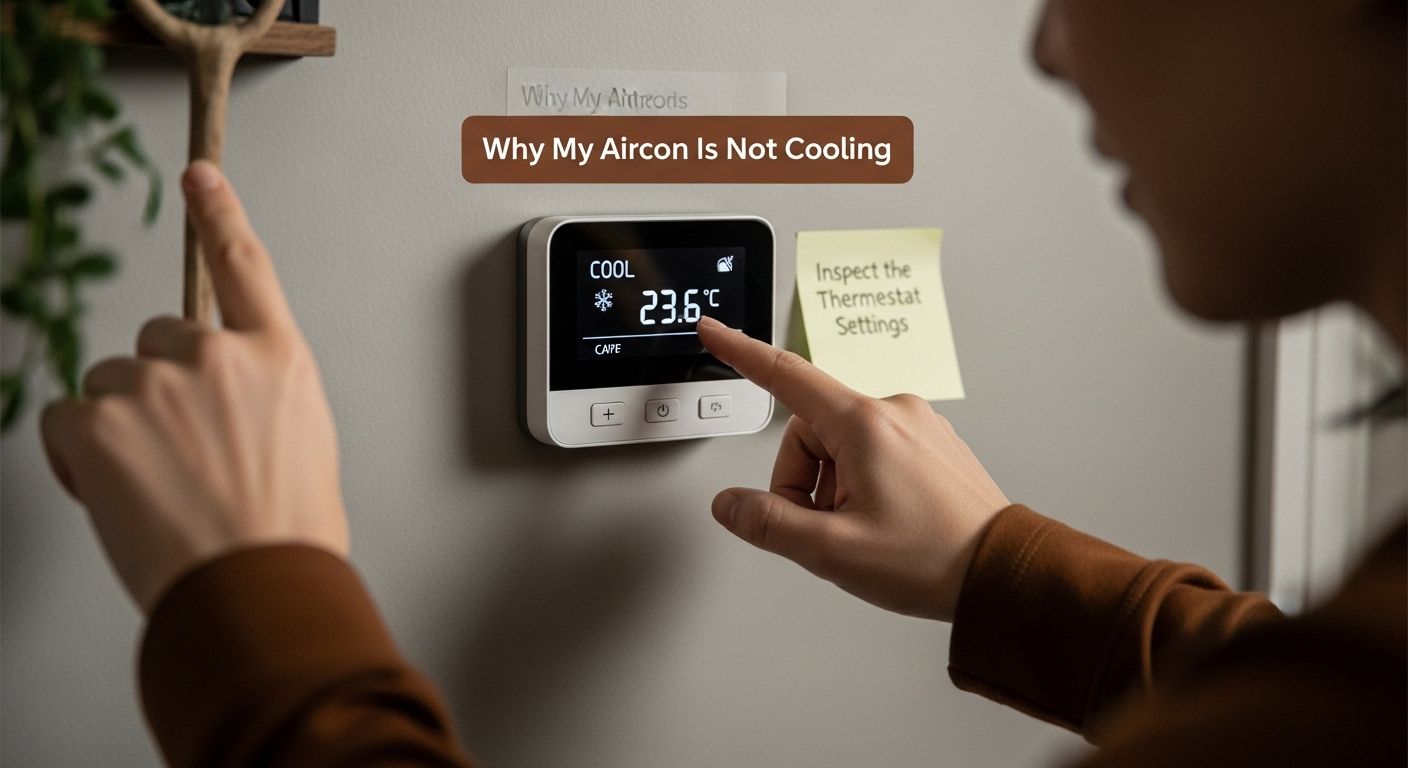
Before diving into complex troubleshooting, your first step in resolving why your aircon is not cooling involves carefully examining your thermostat settings. Many cooling issues stem from simple configuration mistakes that can be easily rectified without professional intervention.
Start by locating your thermostat and checking its current settings. Verify that the system is switched to “cooling” mode and not accidentally set to “heat” or “fan only”. According to Defence Housing Australia, ensuring the snowflake symbol is selected for cooling is crucial for proper air conditioning performance.
Temperature calibration plays a significant role in your aircon’s cooling effectiveness. Confirm that the temperature setting is appropriately lower than the current room temperature. A common recommendation from the NSW Department of Family and Community Services suggests maintaining indoor temperatures between 23.6°C and 26.6°C during summer for optimal comfort and efficiency.
If your thermostat appears unresponsive or displays unusual behavior, check its batteries. Weak or dead batteries can disrupt communication between your thermostat and air conditioning system, preventing proper cooling. Replace batteries with fresh ones and observe whether this resolves the initial cooling problem.
Key Verification Points:
- Thermostat set to “cool” mode
- Temperature setting lower than room temperature
- Batteries are functional and recently replaced
By methodically working through these thermostat settings, you eliminate the most straightforward potential causes of poor air conditioning performance. If these basic checks do not resolve your cooling issue, you are now prepared to move forward to the next troubleshooting step with confidence.
Step 2: Check the Air Filter Condition
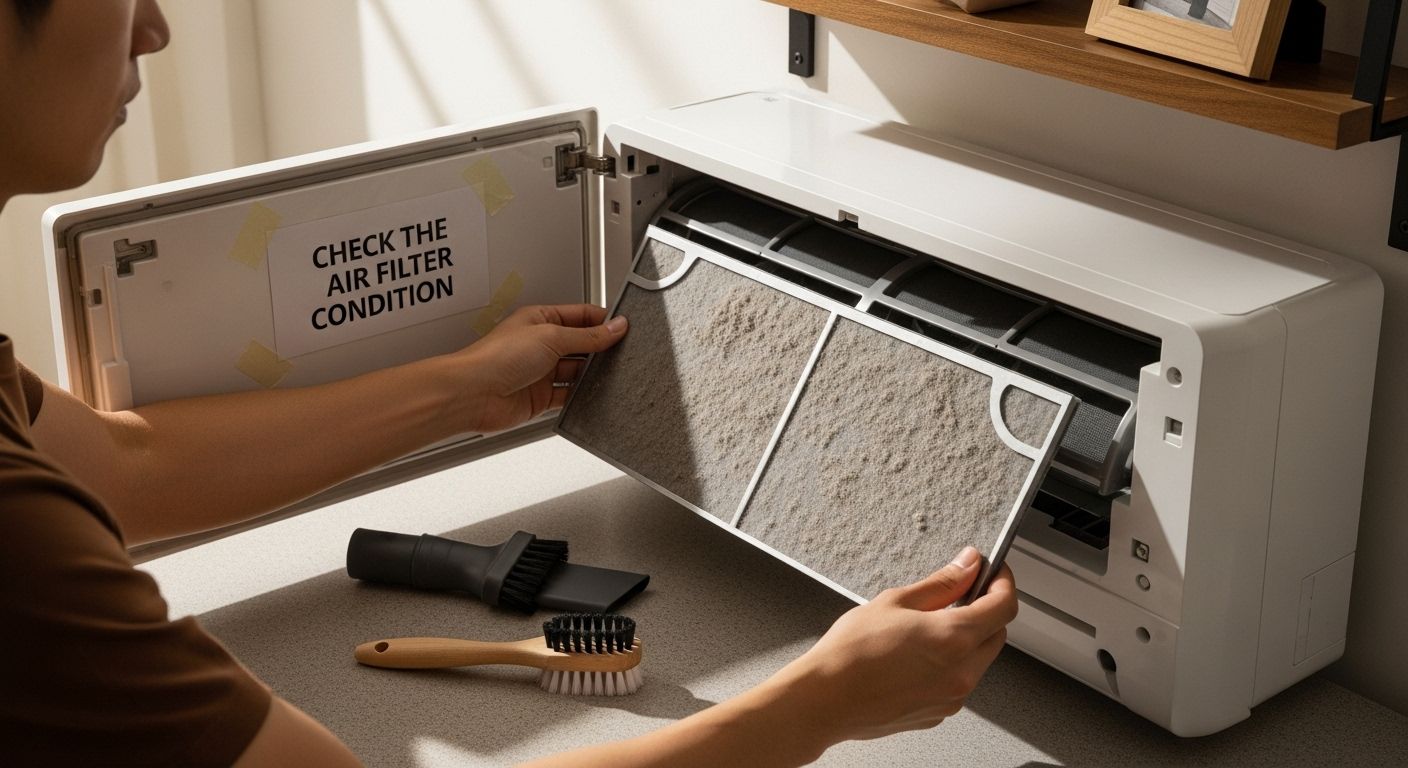
Air filters serve as the unsung heroes of your air conditioning system, protecting your unit from dust and debris while ensuring clean, efficient airflow. When these filters become clogged, your aircon’s cooling performance can dramatically decrease, leading to reduced efficiency and potential system strain.
Begin by locating your air conditioning unit’s filter compartment. Most split system and ducted air conditioning units have easily accessible filters near the indoor unit. Carefully remove the filter panel, which typically slides or pulls out with minimal effort. According to Energy.gov.au, regular filter maintenance is crucial for maintaining optimal system performance.
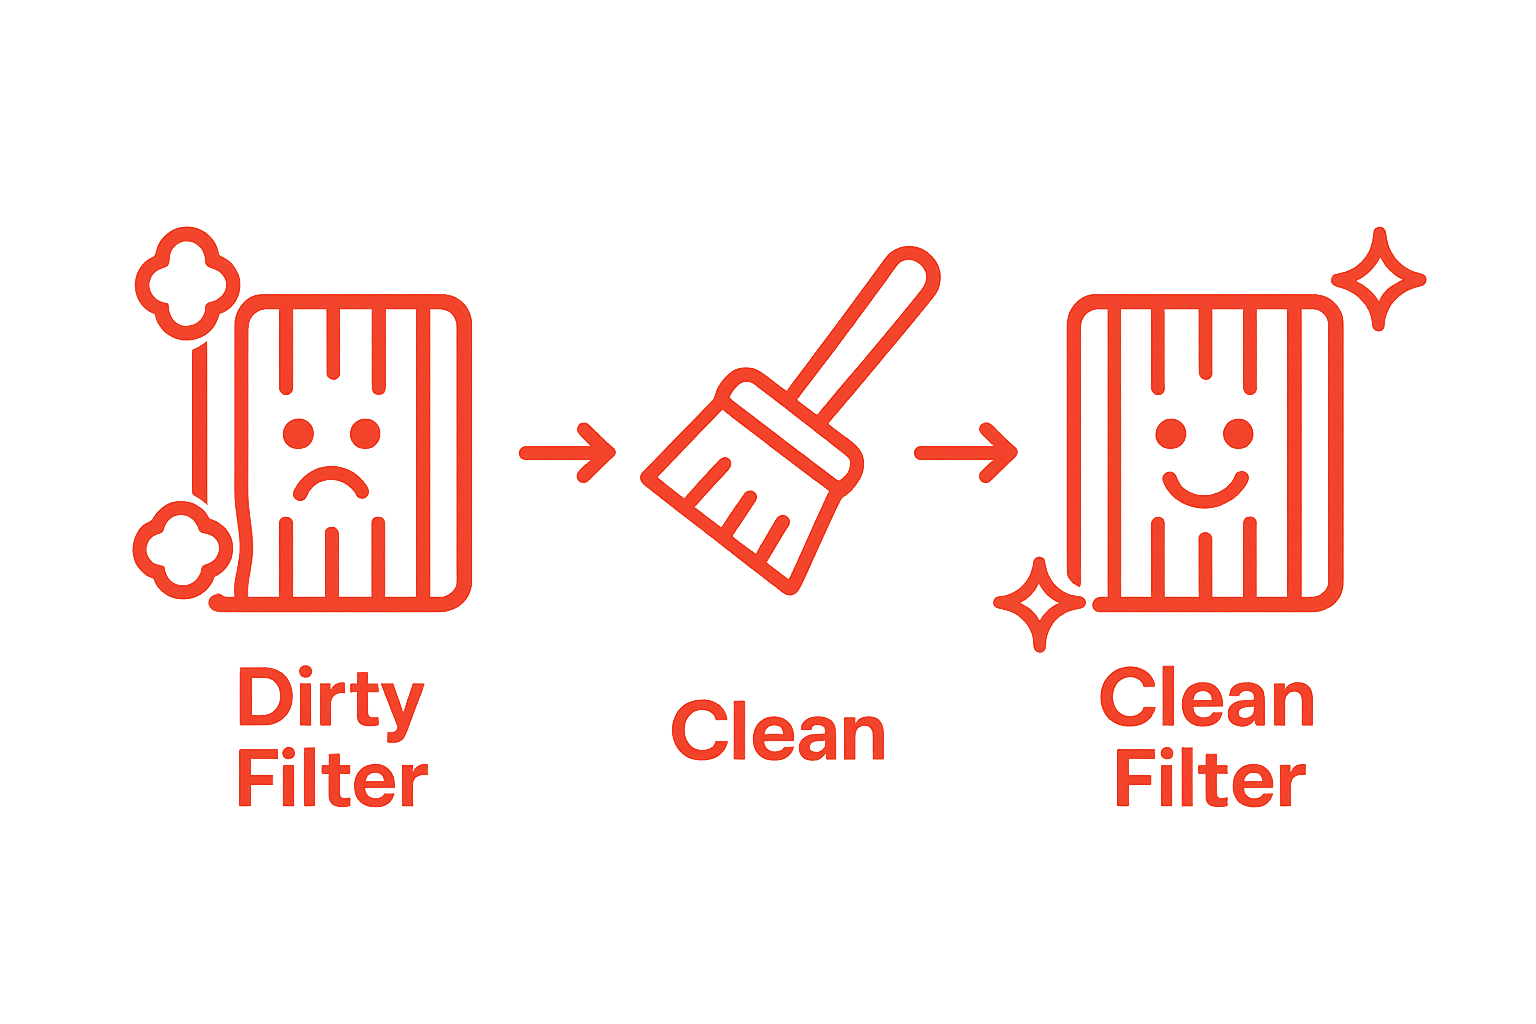
Inspect the filter thoroughly for visible signs of dirt accumulation, dust buildup, or discoloration. A clean filter should appear relatively white or light in color, while a dirty filter will look grey, brown, or significantly darkened. If you can barely see through the filter or it feels heavy with accumulated dust, it requires immediate attention. Gently tap the filter to dislodge loose dust, or use a vacuum cleaner with a soft brush attachment to remove surface debris.
For washable filters, rinse them under lukewarm running water until the water runs clear. Avoid using harsh detergents or cleaning chemicals, as these can damage the filter material. Allow the filter to air dry completely before reinstalling – this typically takes a few hours. If your filter appears excessively worn, damaged, or cannot be effectively cleaned, replacement is the best option to restore your air conditioning system’s cooling efficiency.

Key Filter Maintenance Indicators:
- Filter appears dark or grey
- Reduced airflow from vents
- Visible dust accumulation on filter surface
- Filter is more than 6 months old
By dedicating time to thorough filter inspection and cleaning, you not only improve your air conditioner’s cooling performance but also enhance indoor air quality and extend the overall lifespan of your cooling system. If filter maintenance does not resolve your cooling issues, you are ready to progress to the next troubleshooting step.

Step 3: Verify the Outdoor Unit Operation
The outdoor unit, or condenser, plays a critical role in your air conditioning system’s cooling process. When this component malfunctions, your entire cooling system can become ineffective, leaving you with warm air instead of the refreshing coolness you expect. If you want to understand more about system components, our complete guide to split system installation offers comprehensive insights.
Begin by visually inspecting the outdoor unit’s exterior. Look for any obvious signs of damage, such as bent fins, accumulated debris, or visible rust. Ensure the area around the unit is clear of vegetation, leaves, or other obstructions that might impede airflow. According to Defence Housing Australia, maintaining clear space around the condenser is essential for proper air circulation.
Next, listen carefully when the air conditioning system is running. A functional outdoor unit should produce a consistent, moderate humming sound. Unusual noises like grinding, squealing, or excessive rattling could indicate mechanical problems. If the unit seems completely silent when the system is set to cooling mode, this might suggest an electrical issue or compressor failure.
Check the unit’s fan blades for movement and condition. The fan should rotate smoothly without wobbling or making grinding noises. Stationary or erratically moving fan blades can signal serious mechanical problems that prevent proper heat exchange. Gently clear away any visible debris that might obstruct fan movement, being careful not to damage the delicate blades.
Key Outdoor Unit Inspection Points:
- Clear surrounding area with no obstructions
- No visible physical damage
- Consistent humming sound during operation
- Smooth fan blade rotation
- No excessive rust or corrosion
If your outdoor unit displays multiple signs of dysfunction or fails to operate at all, professional assessment becomes necessary. These symptoms might indicate more complex issues requiring specialized diagnostic tools and expert intervention. By systematically examining your outdoor unit, you eliminate another potential cause of your air conditioning’s reduced cooling performance.
Step 4: Assess Refrigerant Levels
Refrigerant is the lifeblood of your air conditioning system, responsible for absorbing heat and cooling your indoor space. When refrigerant levels drop, your aircon’s cooling capacity diminishes dramatically. If you want to understand more about system components, check out our FAQs about air conditioning maintenance.
Identifying refrigerant issues requires careful observation. Watch for telltale signs such as ice formation on the refrigerant lines, unusually weak airflow, or a noticeable decrease in cooling performance. These symptoms often indicate a refrigerant leak or insufficient refrigerant charge. According to the Department of Climate Change, Energy, the Environment and Water, routine maintenance can significantly reduce refrigerant leaks and associated environmental impacts.
While visual inspection can provide initial clues, definitively assessing refrigerant levels requires specialized equipment. The process involves checking the superheat and subcooling measurements, which demand precise technical knowledge. Attempting to add refrigerant without proper training can cause serious damage to your air conditioning system and potentially violate environmental regulations.
It is crucial to understand that refrigerant handling is a strictly regulated activity in Australia. Only licensed technicians are legally permitted to handle and recharge refrigerants. The Australian Government has implemented strict guidelines to prevent improper refrigerant management, with significant penalties for non-compliance.
Key Refrigerant Assessment Indicators:
- Ice formation on refrigerant lines
- Reduced cooling performance
- Weak or inconsistent airflow
- Unusual hissing sounds near refrigerant lines
- System taking longer to cool the space
If you observe multiple signs of refrigerant issues, the most responsible course of action is to contact a licensed air conditioning professional. They can perform a comprehensive system assessment, identify any leaks, and safely recharge the refrigerant to manufacturer specifications. By seeking expert intervention, you protect both your air conditioning system and the environment.
Step 5: Perform General Maintenance and Clean-Up
The final step in troubleshooting your air conditioning system involves comprehensive maintenance and clean-up, which can often resolve minor cooling performance issues and prevent future problems. Systematic cleaning and maintenance are crucial for ensuring your air conditioner operates at peak efficiency.
Begin by thoroughly cleaning the entire air conditioning system, starting with the external components. According to Energy.gov.au, regular maintenance can significantly improve your system’s efficiency. Ensure the power is completely disconnected before starting any cleaning process. Use a soft brush or vacuum with a soft attachment to remove dust and debris from the outdoor unit’s fins and surrounding area. Be gentle to avoid bending or damaging these delicate components.
Move to the indoor unit and perform a detailed clean. Wipe down the exterior with a slightly damp microfibre cloth, paying special attention to air vents and control panels. If your system has removable covers, carefully detach them and clean underneath, removing any accumulated dust or debris. Important: Never use water directly on electrical components. For the evaporator coils, use a specialized coil cleaner designed for air conditioning systems, following the manufacturer’s instructions precisely.
Check and clean the condensate drain line, which can become clogged with algae, mould, or debris. A blocked drain line can cause water leakage and reduce cooling efficiency. Use a mixture of warm water and mild bleach to flush the line, ensuring water flows freely. This prevents potential water damage and maintains optimal system performance.
Key Maintenance Checklist:
- Disconnect power before cleaning
- Clean outdoor unit fins gently
- Wipe indoor unit exterior
- Clear condensate drain line
- Inspect and clean air vents
- Check for any visible wear or damage
After completing the cleaning process, restore power and test your air conditioning system. Run the unit for several minutes, checking for consistent airflow, normal operational sounds, and effective cooling. If issues persist after this comprehensive maintenance, it may be time to consult a professional air conditioning technician who can provide a more in-depth diagnostic assessment.
Below is a troubleshooting table to help you quickly identify common aircon cooling problems, their likely causes, and recommended solutions—all based on advice from the article.
| Problem | Possible Cause | Solution |
|---|---|---|
| Aircon not cooling | Thermostat set incorrectly | Set to “cool” and lower temp |
| Weak or warm airflow | Dirty or blocked air filter | Clean or replace filter |
| Outdoor unit not running or noisy | Debris, mechanical or electrical issue | Clear debris, inspect, call technician |
| Ice on refrigerant lines | Low refrigerant level or leak | Contact licensed technician |
| Water pooling indoors | Blocked condensate drain line | Clean drain line |
| Unusual sounds from outdoor unit | Fan blade or mechanical fault | Inspect fan, clear obstructions |
| Reduced cooling after maintenance | Improper cleaning or hidden faults | Check for missed steps, seek expert |
Get Lasting Cool Comfort Back with Hart Air Experts
If you have followed all five troubleshooting steps and your aircon is still not cooling, you are probably feeling frustrated or worried about what comes next. Blocked filters, thermostat mix-ups and outdoor unit issues often hide deeper problems that require a trained eye to diagnose. Trying DIY fixes over and over can waste time and money, and there is always the risk of causing extra wear to your system. Your comfort and safety are too important to leave to chance.
Ready to bring back reliable cooling and peace of mind? Trust our Brisbane-based specialists to sort out persistent aircon problems with licensed repairs, installations, or smart upgrades. Whether you need fast maintenance or a brand-new system, our team at Hart Air Conditioning & Refrigeration has you covered. Explore our full Air Conditioning Installation and Ducted AC options, or book a tailored solution online now. Get in quickly to avoid long waits as the temperature rises and secure expert service when you need it most.
Frequently Asked Questions
Why is my air conditioner not cooling despite running?
Check your thermostat settings first to ensure it’s in cooling mode and the temperature is set lower than the current room temperature. Also, inspect the air filter for clogs, as a dirty filter can significantly reduce airflow and cooling efficiency.
How often should I clean or replace my air conditioner filter?
It is recommended to check and clean the air filter every month, especially during the cooling season. Replace the filter at least every 3 to 6 months, or more frequently if you notice dust accumulation or reduced airflow.
What are the signs of low refrigerant levels in my air conditioning system?
Signs of low refrigerant levels include weak or inconsistent airflow, ice formation on refrigerant lines, significantly reduced cooling performance, and unusual hissing sounds near the refrigerant lines.
How can I maintain my air conditioning system for optimal performance?
Regular maintenance includes cleaning the outdoor and indoor units, checking the condensate drain line for clogs, inspecting the air filter, and ensuring that the surrounding area is free from debris. Always disconnect the power before performing any cleaning tasks.

