Mitsubishi Air Conditioner Installation: A Complete Guide
Getting your Mitsubishi air conditioner installed properly is more than just ticking boxes on a checklist. It turns out that placing the outdoor unit just 300 millimetres away from any obstruction can make or break your system’s efficiency. Most people focus only on where the cold air comes from but the critical details are all in the spot you choose before a single tool comes out. Sometimes the smallest measurements lead to the coolest results.
Table of Contents
- Step 1: Evaluate The Installation Site And Requirements
- Step 2: Gather Necessary Tools And Materials
- Step 3: Install The Indoor Unit Securely
- Step 4: Set Up The Outdoor Unit Properly
- Step 5: Connect The Refrigerant Lines And Electrical Wiring
- Step 6: Test The System For Proper Operation And Efficiency
Quick Summary
| Key Point | Explanation |
|---|---|
| 1. Evaluate installation site thoroughly | Assess your home’s layout, space, and cooling needs to determine the best setup for your air conditioner. |
| 2. Gather all necessary tools in advance | Prepare essential tools and materials, including quality copper piping and appropriate electrical cables, to streamline the installation process. |
| 3. Install indoor unit securely | Ensure the indoor unit is mounted properly with sufficient clearance for effective air circulation and maintenance access. |
| 4. Position outdoor unit carefully | Choose a stable, shaded area with clearance around the unit to prevent debris accumulation and ensure optimal performance. |
| 5. Test the system after installation | Conduct thorough tests to verify proper operation, efficiency, and overall performance, checking all components’ functionality. |
Step 1: Evaluate the installation site and requirements
Before diving into your Mitsubishi air conditioner installation, a thorough site evaluation is crucial for ensuring optimal performance and efficiency. This initial assessment determines the most suitable location and configuration for your system, preventing potential installation challenges and maximising comfort.
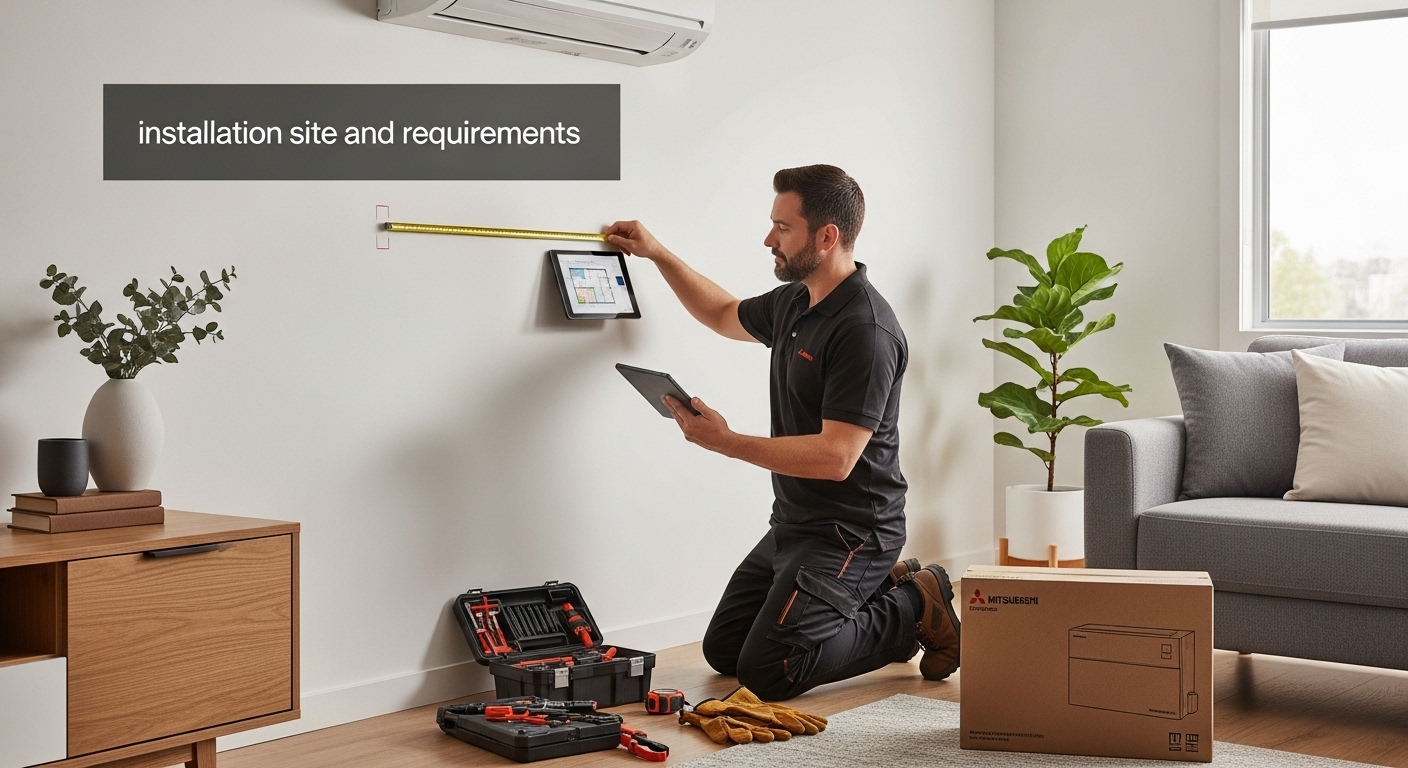
Begin by carefully examining your home’s layout, structural characteristics, and specific cooling requirements. Assess the available space for both indoor and outdoor units, considering factors like direct sunlight exposure, proximity to electrical connections, and potential obstructions. Measure the precise dimensions of potential mounting locations, ensuring adequate clearance for proper air circulation and maintenance access.
Key Evaluation Considerations:
- Room size and total square meterage to be cooled
- Existing electrical infrastructure and circuit capacity
- Structural integrity of walls and ceiling for unit mounting
- Proximity to power sources and potential ductwork routes
- Sun exposure and ambient temperature variations
Special attention must be given to the outdoor unit placement. Select a location that minimises direct sunlight and provides sufficient ventilation. Avoid areas prone to debris accumulation or potential physical damage. The unit should be mounted on a stable, level surface with at least 300 millimetres of clearance around all sides to facilitate optimal airflow and system performance.
For homes with complex layouts or challenging architectural features, consulting a professional Mitsubishi air conditioning technician can provide invaluable insights. They can conduct a comprehensive site survey, identifying potential installation complexities and recommending tailored solutions that align with your specific requirements.
Careful documentation during this evaluation stage is essential. Sketch out potential unit locations, note electrical connection points, and record precise measurements. This preparatory work will streamline subsequent installation steps and help your installation team understand your home’s unique characteristics.
Step 2: Gather necessary tools and materials
Successful Mitsubishi air conditioner installation demands meticulous preparation and the right equipment. Gathering tools and materials beforehand streamlines the entire process, preventing unnecessary interruptions and ensuring a smooth, professional installation. Professional technicians understand that comprehensive preparation is the cornerstone of efficient air conditioning system setup.
Essential Tools Checklist:
- Cordless drill with multiple drill bit sizes
- Adjustable wrench and socket set
- Refrigeration manifold gauge set
- Vacuum pump with appropriate connections
- Pipe cutter and flaring tool
- Digital multimeter
- Torque wrench
- Level and measuring tape
- Safety equipment (gloves, safety glasses, dust mask)
Before commencing the installation, verify that you have acquired high-quality refrigeration grade copper piping appropriate for your specific Mitsubishi model. The piping diameter and length must precisely match your unit’s specifications. Insulation sleeves are critical for preventing thermal loss and protecting the refrigerant lines from environmental degradation.
Carefully inspect your electrical requirements. You will need appropriate electrical cable gauges capable of handling the unit’s power demands. Consult the manufacturer’s specifications to determine exact electrical requirements, as using incorrect cable thickness can compromise system performance and potentially create safety hazards.
Refrigerant handling requires specialised materials. Procure refrigerant recovery cylinders and ensure you have the correct type and quantity of refrigerant specified by Mitsubishi for your particular model. Remember that refrigerant management demands technical expertise and potentially requires licensed professional intervention.
Organise your materials systematically before beginning installation. Group tools by function, prepare a clean workspace, and double-check that every required component is present and in excellent condition. This methodical approach minimises potential delays and sets the foundation for a successful air conditioning system installation.
Below is a table summarising the essential tools and materials required for Mitsubishi air conditioner installation, including their specific purposes.
| Tool/Material | Specification/Purpose |
|---|---|
| Cordless drill | For creating precise mounting holes in various wall types |
| Adjustable wrench and socket set | Tightening bolts, mounting plates, and securing unit brackets |
| Refrigeration manifold gauge set | Measuring system refrigerant pressure during installation and testing |
| Vacuum pump with appropriate fittings | Removing air and moisture from refrigerant lines before charging |
| Pipe cutter and flaring tool | Cutting copper piping to size and preparing flared ends for secure connections |
| Digital multimeter | Testing electrical continuity and voltage stability for safety |
| Torque wrench | Ensuring bolts and connections meet manufacturer torque specifications |
| Level and measuring tape | Achieving correct alignment and clearance for indoor and outdoor units |
| Safety equipment (gloves, glasses, mask) | Preventing injury and exposure to dust, debris, and refrigerants |
| Copper piping (refrigeration grade) | For high-quality, leak-free refrigerant line connections |
| Electrical cables (matched gauge) | Providing safe, correct supply of power per manufacturer requirements |

Step 3: Install the indoor unit securely
Installing the indoor unit of your Mitsubishi air conditioner requires precision, careful planning, and attention to detail. This critical stage determines the system’s overall performance, airflow efficiency, and long-term reliability. Our comprehensive guide to split system installation offers additional insights into the nuanced process of mounting your unit effectively.
Mounting Location Considerations:
- Select a wall that can structurally support the unit’s weight
- Ensure minimum 150 millimetres clearance from ceiling and adjacent walls
- Avoid direct sunlight and heat sources
- Position for optimal air distribution across the room
- Select a location with accessible electrical connections
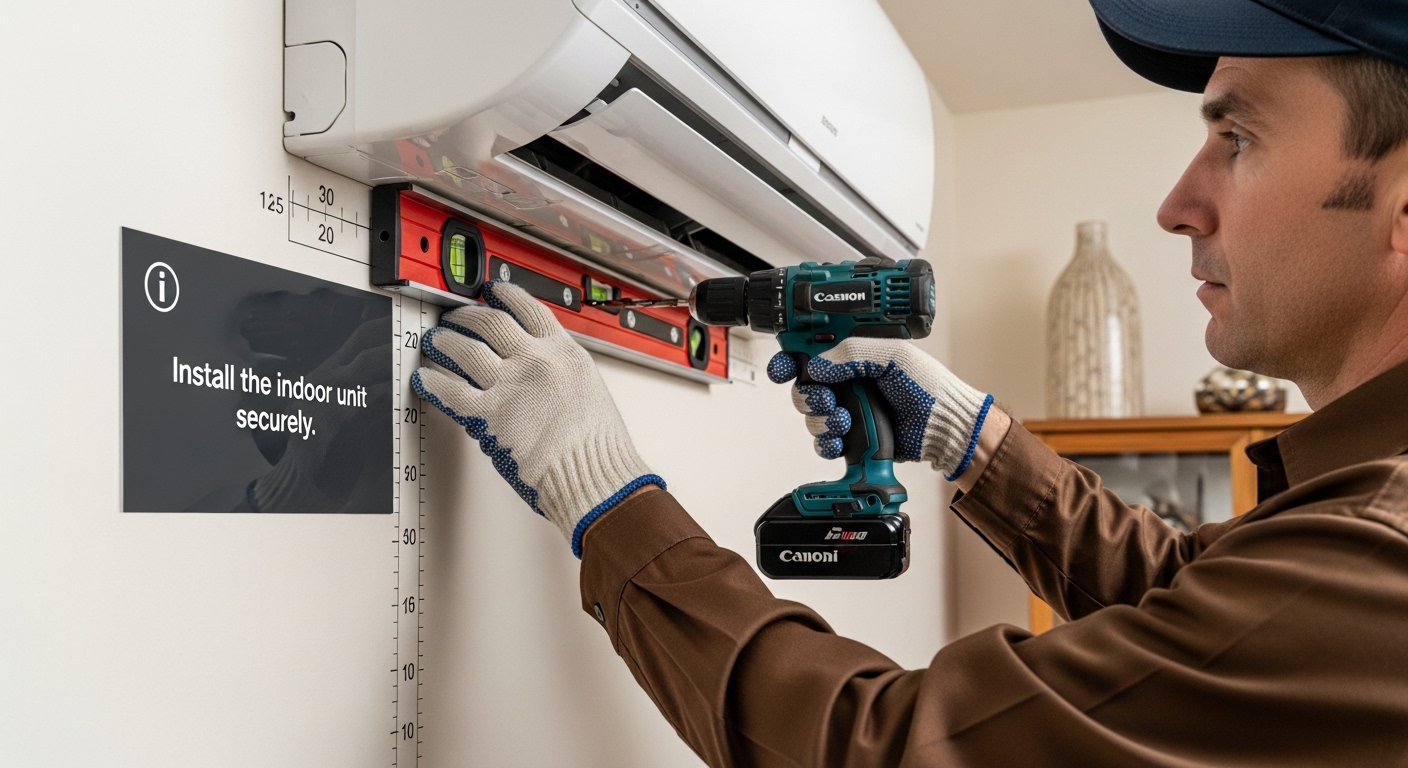
Begin by marking the mounting plate precisely. Use a digital level to guarantee absolute horizontal alignment, which prevents condensation issues and ensures proper drainage. Drill mounting holes with extreme care, selecting drill bits that match your wall’s construction material. For plasterboard walls, use robust wall anchors designed to support the unit’s weight.
Prepare the wall penetration carefully. Create a discreet 65-millimetre diameter hole for refrigerant piping, electrical cables, and condensate drainage. Angle this penetration slightly downward towards the exterior to facilitate efficient water drainage and prevent potential moisture-related complications.
Secure the mounting plate using high-grade stainless steel screws, ensuring each fastener is tightened to manufacturer specifications. The plate must be absolutely rigid, with zero movement or flexibility. A loose mounting plate can lead to long-term vibration issues and potential unit misalignment.
Before finalising the installation, conduct a preliminary fit test. Temporarily position the indoor unit on the mounting plate, checking for perfect alignment and smooth attachment. This precautionary step allows you to identify and rectify any potential mounting discrepancies before completing the full installation process.

Step 4: Set up the outdoor unit properly
Preparing and installing the outdoor unit of your Mitsubishi air conditioner requires strategic planning and precise execution. This crucial component demands careful consideration to ensure optimal performance and longevity. Explore our comprehensive maintenance tips to understand how proper installation impacts long-term system efficiency.
Critical Outdoor Unit Placement Considerations:
- Select a level, stable surface
- Ensure minimum 300 millimetres clearance on all sides
- Protect from direct sunlight and extreme weather conditions
- Avoid areas with high debris or potential physical obstruction
- Position away from direct noise-sensitive areas
Begin by creating a robust mounting platform. For ground installations, construct a solid concrete pad that extends at least 100 millimetres beyond the unit’s base dimensions. Ensure the pad is perfectly level, using a professional spirit level to check horizontal alignment from multiple angles. A slightly uneven surface can cause vibration, noise, and potential long-term mechanical stress.
When mounting on external walls, select high-quality anti-vibration brackets designed specifically for air conditioning units. These specialised brackets absorb operational vibrations, preventing structural damage and minimising noise transmission. Use stainless steel anchoring hardware rated for exterior conditions, ensuring they can withstand Brisbane’s variable climate conditions.
Pay special attention to refrigerant line routing. The path between indoor and outdoor units should be as direct and short as possible, minimising bends and potential pressure losses. Protect refrigerant lines with high-quality insulation sleeves, preventing thermal energy loss and protecting against environmental degradation.
Before finalising the installation, conduct a comprehensive visual inspection. Check that all mounting points are secure, vibration-absorption mechanisms are correctly installed, and no potential environmental hazards could compromise the unit’s performance or accessibility for future maintenance.
Step 5: Connect the refrigerant lines and electrical wiring
Connecting refrigerant lines and electrical wiring represents the most technically demanding phase of your Mitsubishi air conditioner installation. Precision and methodical approach are paramount to ensure system integrity and optimal performance. Learn more about refrigeration maintenance best practices to understand the critical nuances of this process.
Essential Preparation Checklist:
- Verify refrigerant line diameter matches manufacturer specifications
- Confirm electrical cable gauge matches unit power requirements
- Inspect copper piping for any imperfections or damage
- Ensure all connections are clean and free from debris
- Have nitrogen purging equipment readily available
Refrigerant Line Connection Procedure:
Begin by carefully flaring the copper refrigerant lines using a professional flaring tool. Maintain absolutely clean connection points, wiping each surface with deoxidising cloth to remove potential contaminants. Apply a thin layer of refrigeration-grade lubricant to ensure smooth connection and prevent potential seal degradation.
Prepare for nitrogen purging during welding to prevent oxidation inside the copper pipes. Connect your nitrogen flow regulator and maintain a constant low-pressure flow during the entire brazing process. This technique prevents internal pipe scaling and ensures clean, high-quality connections that will support long-term system reliability.
Electrical wiring demands equally meticulous attention. Match each wire precisely to its corresponding terminal, using high-quality waterproof electrical connectors. Ensure all electrical connections are tightly secured and protected from potential moisture ingress. Use heat-shrink tubing or professional-grade electrical tape to provide additional protection against environmental factors.
Before finalising connections, perform a comprehensive continuity test using a digital multimeter. Verify each electrical connection’s integrity and check for any potential short circuits or unexpected resistance. This critical verification step prevents potential electrical failures and ensures your Mitsubishi air conditioning system operates safely and efficiently.
Step 6: Test the system for proper operation and efficiency
The final stage of Mitsubishi air conditioner installation involves comprehensive system testing to validate performance, efficiency, and reliability. This critical phase determines whether your installation meets professional standards and manufacturer specifications. Explore our advanced maintenance strategies to understand long-term system management techniques.
Comprehensive Testing Checklist:
- Verify electrical connections and voltage stability
- Check refrigerant pressure and line integrity
- Test airflow volume and temperature distribution
- Inspect condensate drainage functionality
- Evaluate noise levels during operation
- Confirm remote control and thermostat synchronisation
Initial System Startup Procedure:
Begin the testing process by activating the system in cooling mode. Monitor the initial startup carefully, listening for any unusual sounds that might indicate mechanical misalignment or improper installation. Pay close attention to compressor startup, ensuring smooth and consistent operation without excessive vibration or mechanical strain.
Conduct a systematic temperature differential test across multiple rooms. Use a calibrated digital thermometer to measure the variance between return air and supply air temperatures. A properly functioning system should demonstrate a consistent temperature drop between 10 to 15 degrees Celsius, indicating efficient heat exchange and optimal refrigerant circulation.
Carefully examine the condensate drainage system. Observe water flow from the indoor unit, verifying that liquid drains smoothly and consistently without leakage or pooling. An efficient drainage system prevents potential water damage and maintains indoor air quality by preventing moisture accumulation.
Finally, perform a comprehensive efficiency assessment. Run the system through multiple operational modes cooling and heating if applicable. Use a professional electrical consumption meter to track power usage, comparing the measured performance against manufacturer specifications. Document your findings meticulously, noting any deviations that might require further investigation or professional adjustment.
Take the Uncertainty Out of Mitsubishi Installation with Hart Air
Worried about choosing the right spot or tools for your Mitsubishi air conditioner? Many Brisbane locals feel anxious about risking expensive mistakes during installation. Whether it is measuring clearances, connecting refrigerant lines, or finding the safest way to manage electrical wiring, the steps can be daunting and time-consuming. This article highlights how precise planning, technical know-how and the ability to avoid common errors set the foundation for reliable home comfort.
Let Hart Air handle the hard work for you. Our expert team delivers licensed, fully-insured air conditioning installation with a deep focus on split and multi-split Mitsubishi systems. We know local Brisbane properties inside out and bring years of experience solving the same challenges you face at home. Visit our split system solutions for tailored advice or head to Hart Air Conditioning & Refrigeration and book your fast in-home assessment today. Get peace of mind knowing your investment is installed right the first time. Spots fill up quickly so act now for the best results.
Frequently Asked Questions
What are the key considerations for evaluating the installation site for a Mitsubishi air conditioner?
Ensure you assess the room size, existing electrical infrastructure, wall and ceiling integrity, proximity to power sources, and sun exposure. This evaluation helps in selecting the optimal location for both indoor and outdoor units to maximize efficiency and comfort.
What tools and materials are necessary for installing a Mitsubishi air conditioner?
Essential tools include a cordless drill, adjustable wrench, refrigerant manifold gauge set, vacuum pump, pipe cutter, and safety equipment among others. Additionally, high-quality refrigeration-grade copper piping, appropriate electrical cables, and refrigerant recovery cylinders are critical for installation.
How do I securely install the indoor unit of my Mitsubishi air conditioner?
Choose a structurally sound wall and ensure proper clearance from seams and adjacent walls. Mark the mounting plate for accurate installation, drill holes carefully, and create a precise opening for refrigerant and electrical lines. Secure the mounting plate with high-grade screws for firm support before testing the unit alignment.
What should I test after installing my Mitsubishi air conditioning system?
After installation, check electrical connections and voltage stability, refrigerant pressure, airflow volume, and condensate drainage functionality. Additionally, assess noise levels and ensure remote control and thermostat synchronization to confirm proper operation and efficiency.
Recommended
- The Complete Guide to Ducted Air Conditioning Setup in Australia – Hart Air and Refrigeration
- Multi-Split System Air Conditioning Benefits – Hart Air and Refrigeration
- The Complete Guide to Split System Installation: Everything Homeowners Need to Know – Hart Air and Refrigeration
- Ducted Air Conditioning Installation: A Step-by-Step Guide – Hart Air and Refrigeration
- A Quality Install Matters – Colley Refrigeration

